


Ventilation
Exclusive nonwoven polyester delivers long-lasting resiliency and unrivaled breathability.
Learn More
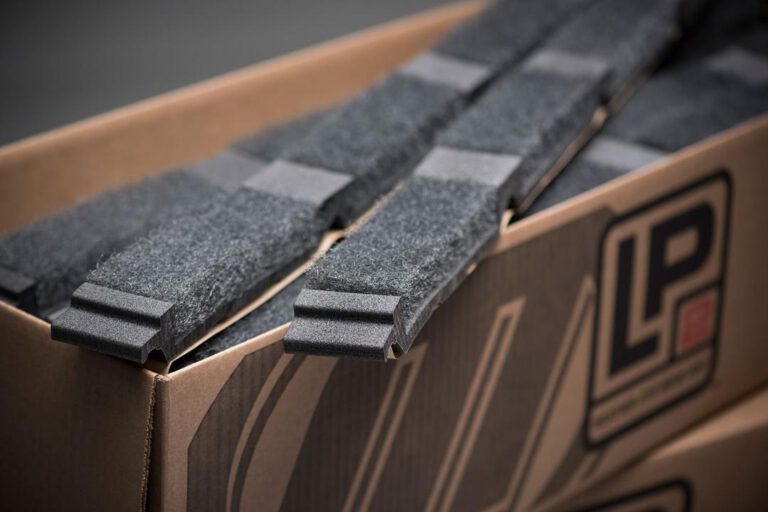
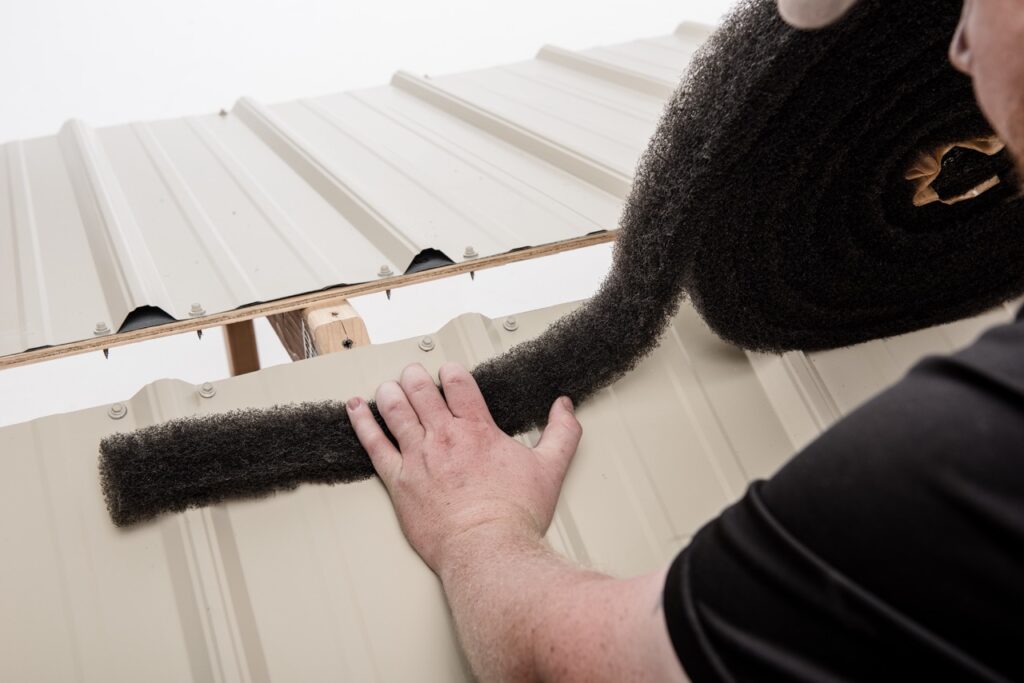
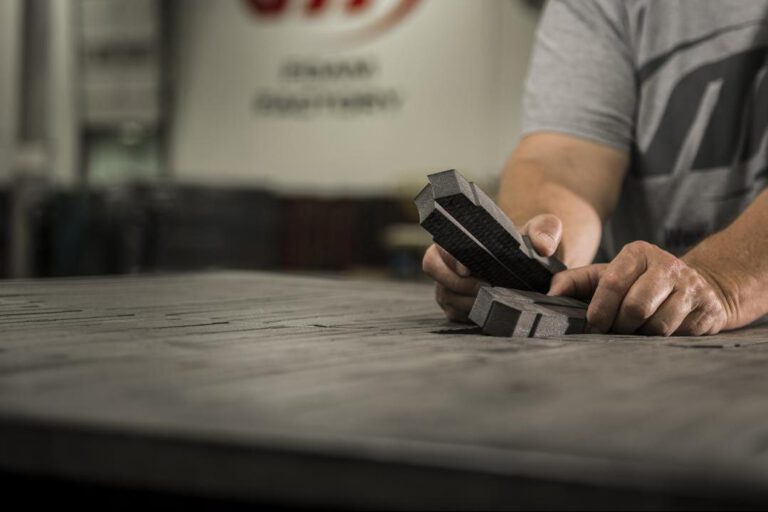
Closure
Durable crosslink polyethylene foam that brings superior seal and unmatched protection.
Learn More
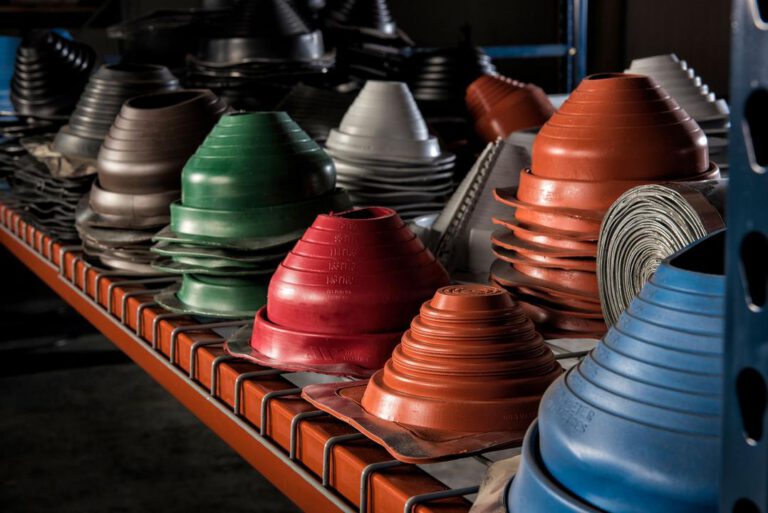
Flashing
Made from EPDM or silicone for maximum seal and maximum resistance to weather.
Learn More
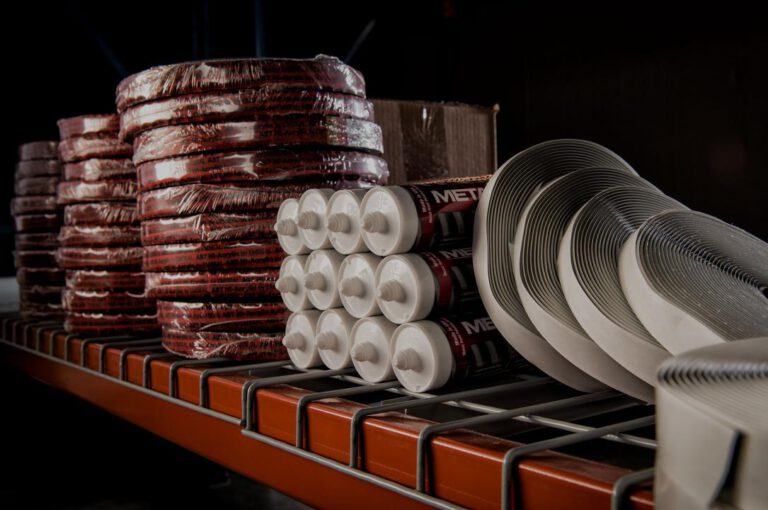
Sealants
From polymer sealant to butyl and expandable foam type, Marco sealants are proven to outperfrom.
Learn More
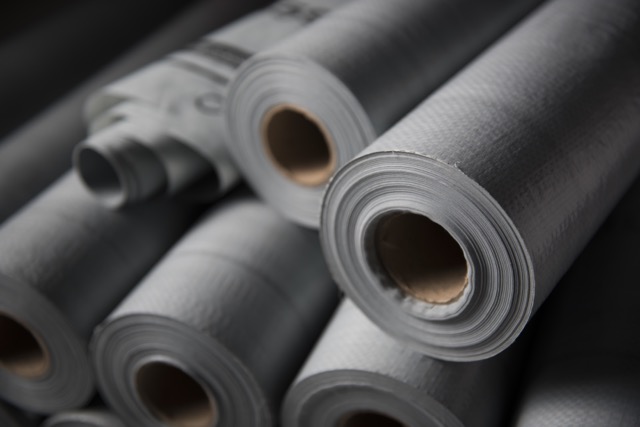
Underlayment
Proven synthetic and self-adhering underlayment solutions providing superior protection.
Learn More