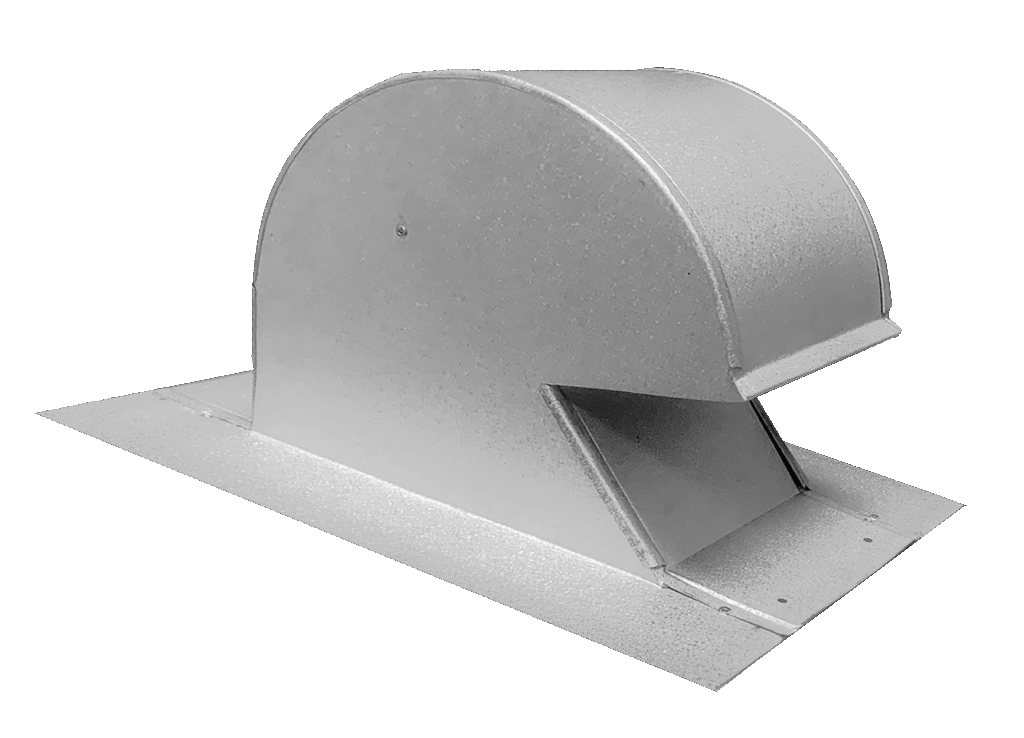
Step 1
Location of Vent: It is recommended to position the vent on roof deck.
Position and Secure: Fasten vent over sub roofing membrane with 1 ¼” galv. Roofing nails or pan head screws through the vent flanges at provided holes spaced no more than 4” apart.
Step 2
Seal Flanges: to sub roofing membrane as recommended by membrane manufacturer.
Cut Metal Roof Panel: to fit tightly around body of vent and test fit before applying sealant. Once satisfied with the way the panel fits around the vent, remove panel in preparation for final install.
Step 3
Apply Tripolymer Sealant: a liberal amount or an approved metal roof sealant on flanges around body of the vent in a manner as to insure a complete bond of sealant to the underside of the roof panel. It is preferable to use a sealant with a color that matches the panel color.
Step 4
Install Precut Metal Roof Panel: and press into the sealant so that the panel and sealant create a complete bond. There will be some ooze out of sealant at the body of the vent. Tool in the sealant at the body of the vent to cover the edge of the panel cut out. You may need to add some sealant to accomplish this task. It is important to be consistent with this tooling process for a neat and aesthetically pleasing finish.
NOTE
Some metal roof mechanics may want to use an alternative attachment method such as mechanical fasteners or cleating the panel. These methods are acceptable as long as proper sealing is incorporated in the process.


