Marco Industries Logo
Search
Close this search box.

Flex-O-Vent™ Universal Venting Material

Flex-O-Vent is our most economical polyester-based ventilation product. Available in 10’ and 20’ rolls and multiple packaging options, Flex-O-Vent won’t absorb moisture, which can freeze and block all ventilation. It features M63 Marco proprietary adhesive for superior hold, easy one-person installation and a 40-year limited warranty.

Made With Recycled Material
40 Year Warranty
made-in-usa
Flex-O-Vent

Learn More

Our FlexPro Profile Venting Material vents, protects and lasts like no other. While polyurethane products constantly expand (as they soak up water) and contract (as they dry out), causing them to disintegrate and fail, FlexPro offers 40 years of Weather-Tite™ performance. Its specially formulated polyester—manufactured from recycled material—prevents moisture absorption and holds together to keep out pests. It’s also extremely durable, flame-resistant, clog-resistant and tear-resistant.

Overall
Net Free Area: 23 sq. in. for 1” free-standing product*
1- 1/2” x 3” x 10’: Rib heights up to 1-1/4”
1- 1/2” x 2” x 10’: Rib heights up to 1-1/4”
1” x 3” x 10’: Rib heights up to 3/4”
1” x 2” x 10’: Rib heights up to 3/4”
Air Permeability: >760 cubic feet per minute
Cold Cracking: -55˚C (-130˚F)
Tear Strength: 3.5 ppi
Tensile Strength: 16 psi – Elongation 175%
Compressive Strength: 1.8 psi at 75%
Abrasion: No Damage
*Effective Net Free Area varies based on product height, panel profile and installation methods.

How To Install

With Flex-O-Vent, one size fits most panels. Installation is a simple two-step process easily handled by one installer. Flex-O-Vent comes in easy-to-handle 10-foot rolls (mirroring most ridge cap lengths) or larger 20-foot rolls if you prefer. It is easily cut with scissors or a utility knife and a double bead of M63 adhesive holds Flex-O-Vent securely in place until the ridge cap is installed.

Step 1

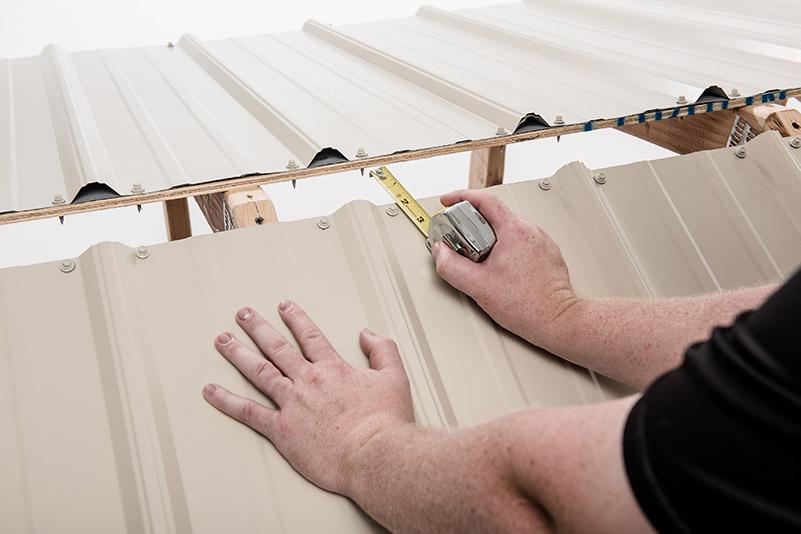
Make sure panel is free of dust and debris. If not pre-cut, cut 2” slot at ridge. Measure and mark where the ridge cap will sit on the panel.

Step 2

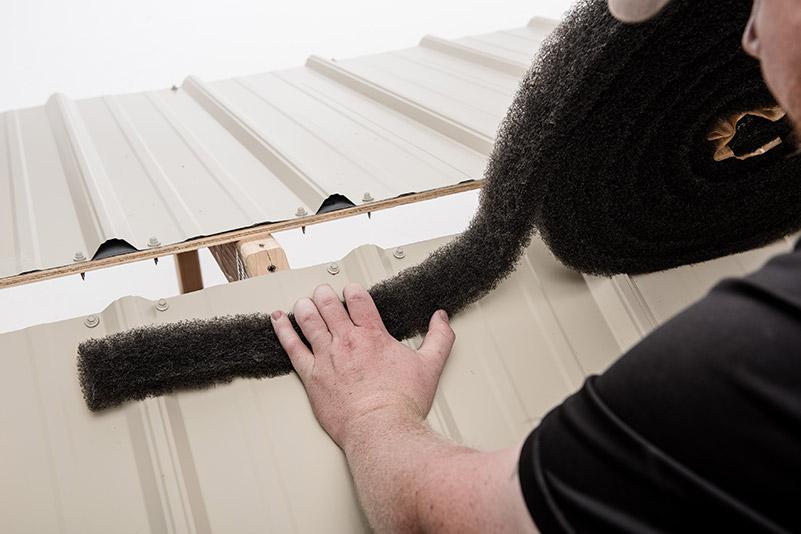
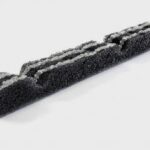
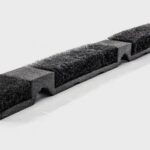
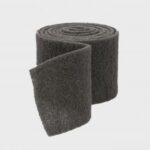
Start from the end of the ridge, rolling out Flex-O-Vent along the length of the ridge (both sides), making sure the vent sits "up-slope" from the edge of the ridge cap.

Step 3

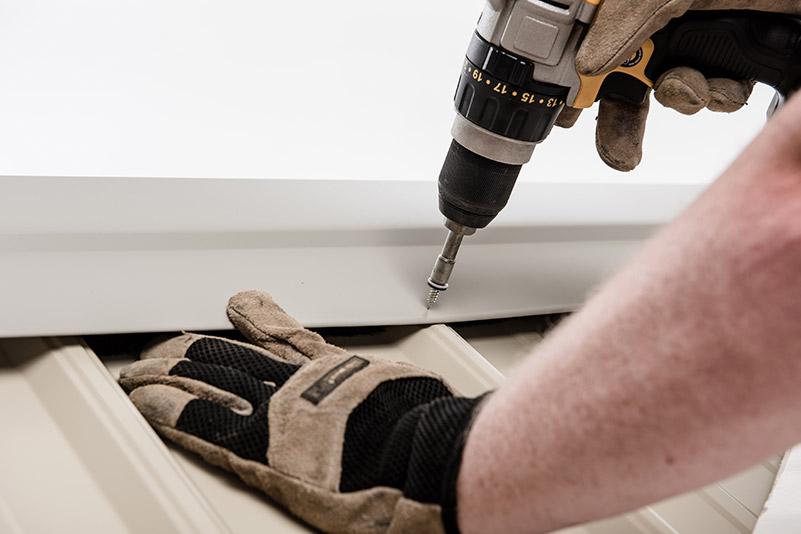
Apply ridge cap, compressing material between the ridge cap and major rip. Fasten at the major rib using a screw gun set to at least 2700 rpm.

More Ventilation

Learn about our other ventilation products featuring our exclusive nonwoven polyester material, for long-lasting resiliency, moisture prevention and energy efficiency.

Resources

Dig deep with technical tools, reference charts, installation videos, and more.